PowerShell: Getting Started - Utilizing the Web: Part 4 (Controlling Internet Explorer via IE COM Object)
Welcome to my Getting Started with Windows PowerShell series!
In case you missed the earlier posts, you can check them out here:
- Customizing your environment
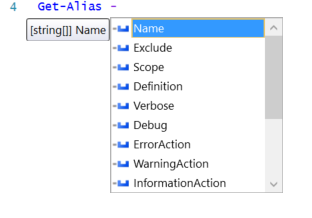
- Command discovery
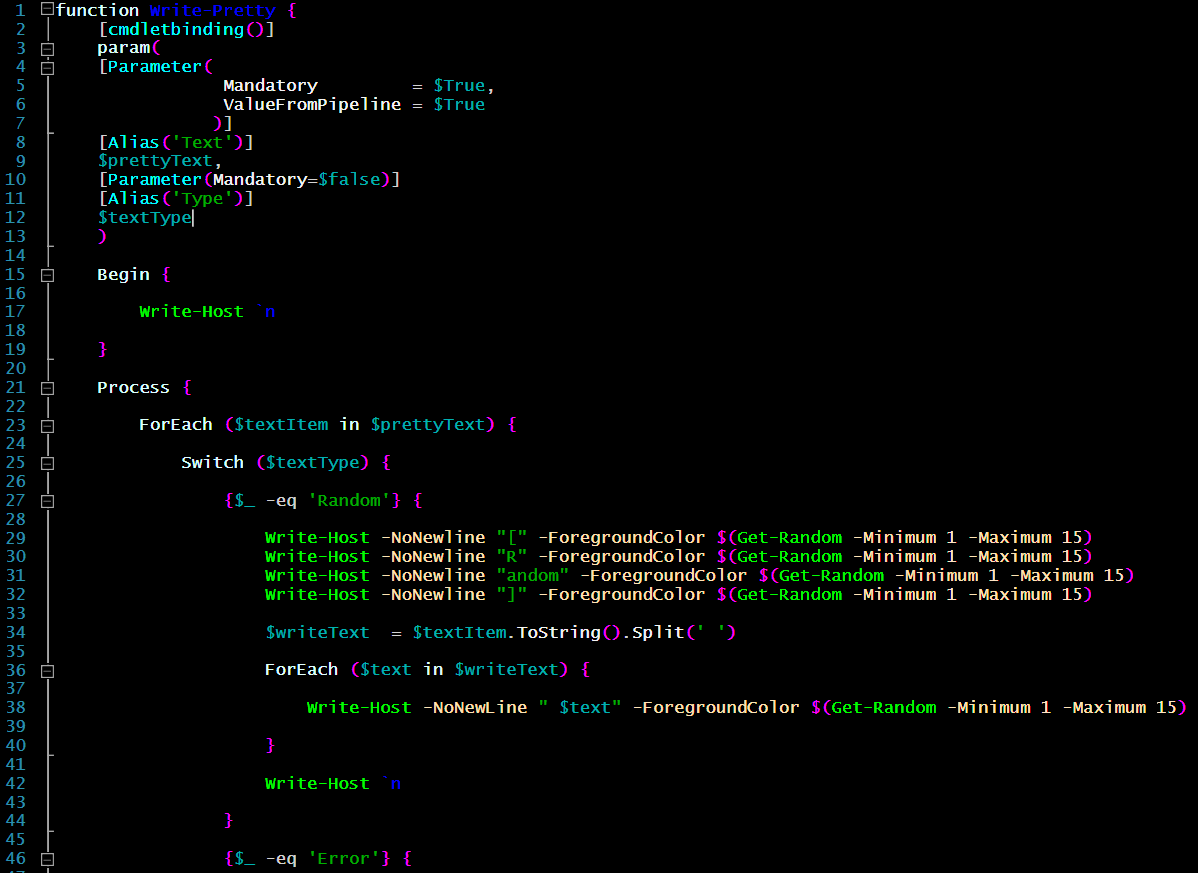
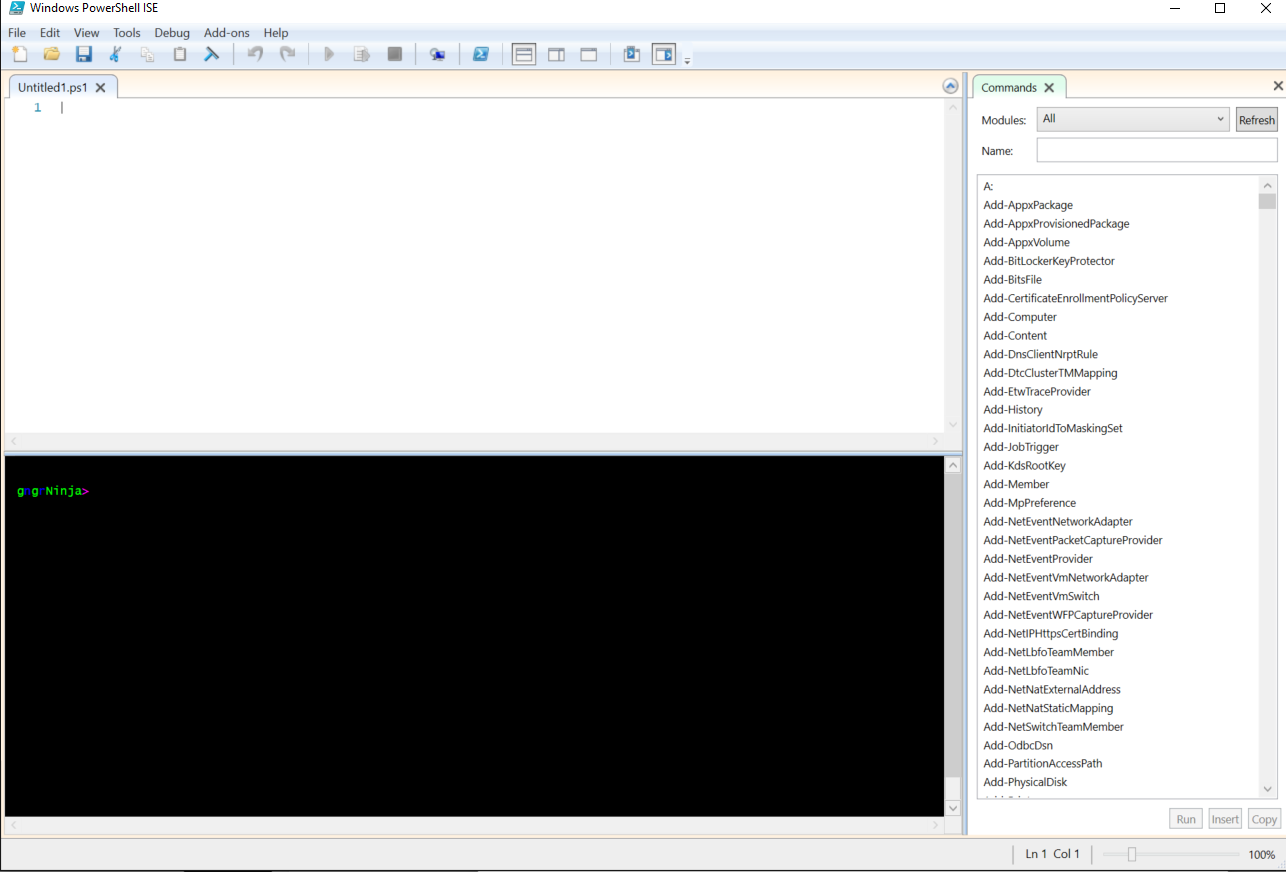
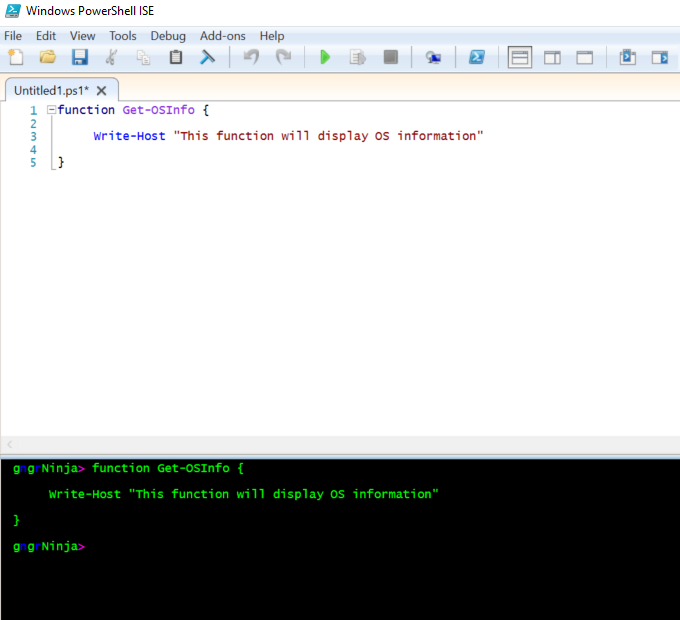
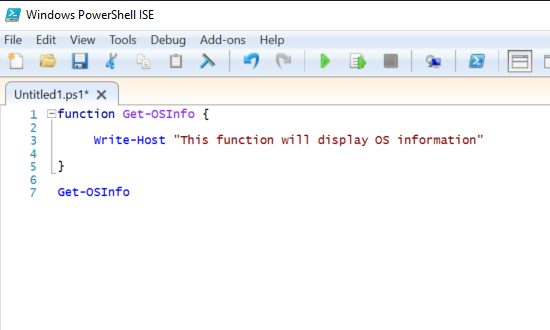
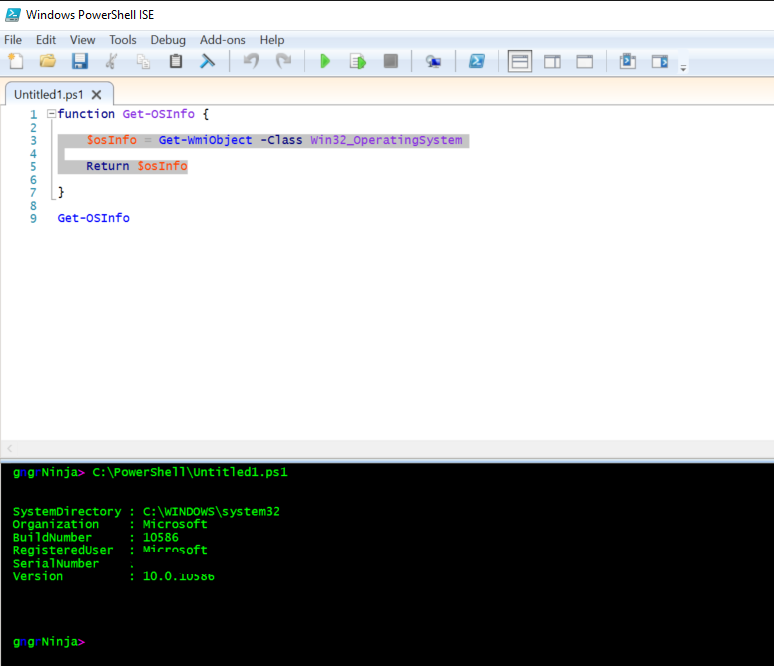
- Using the ISE and basic function creation
- A deeper dive into functions
- Loops
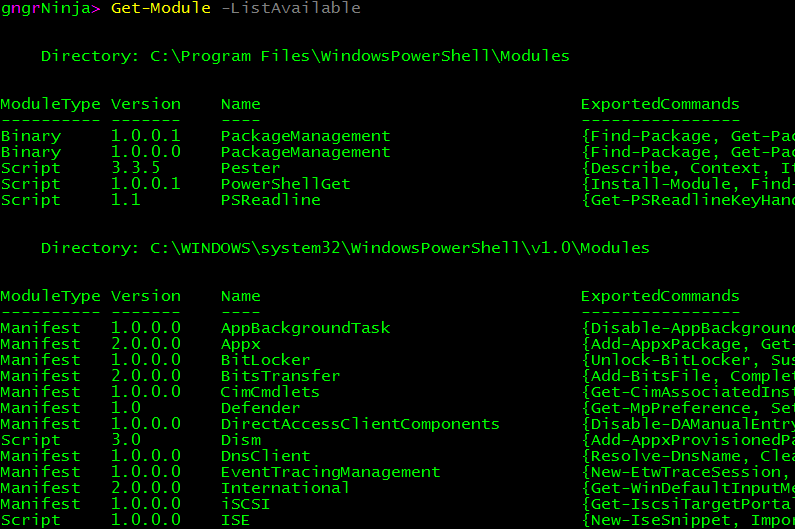
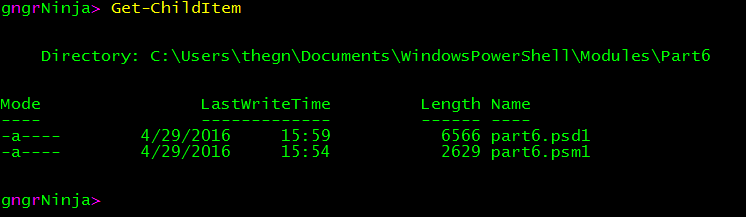
- Modules
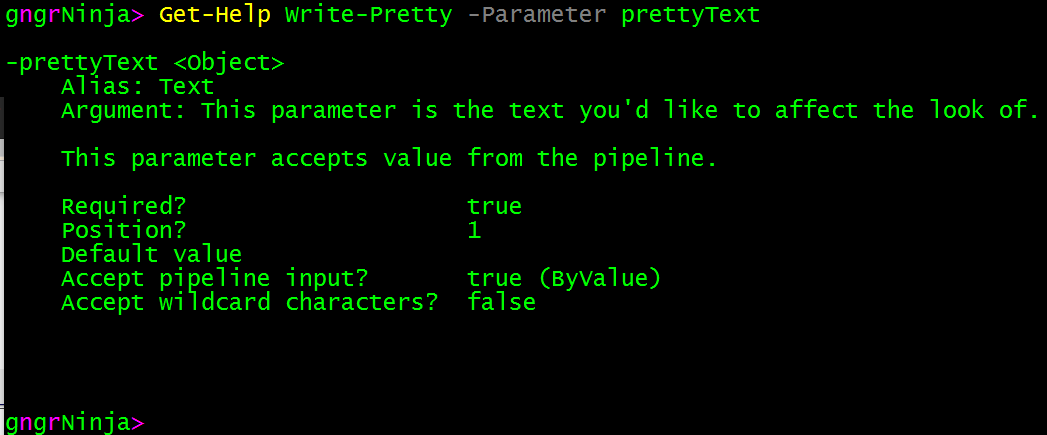
- Help
- Accepting pipeline input
- Strings
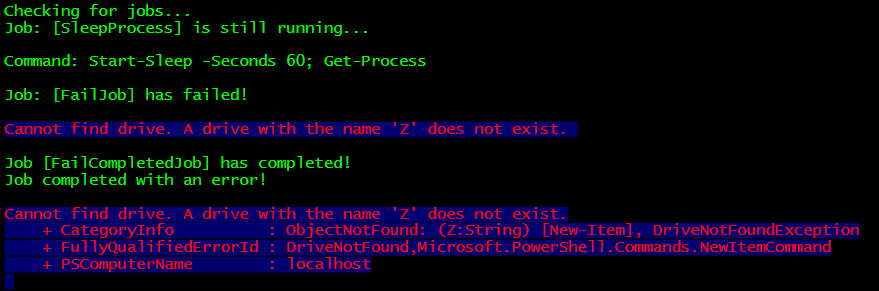
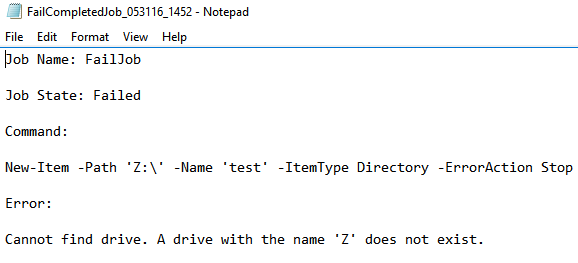
- Jobs
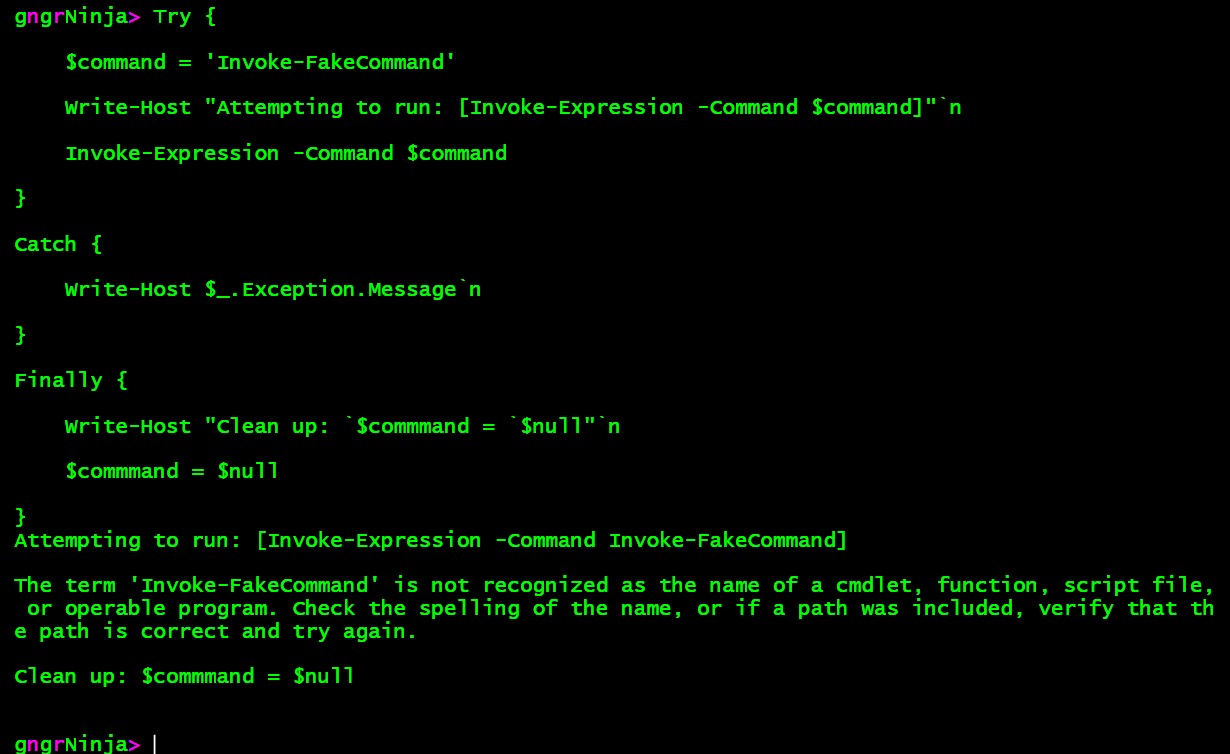
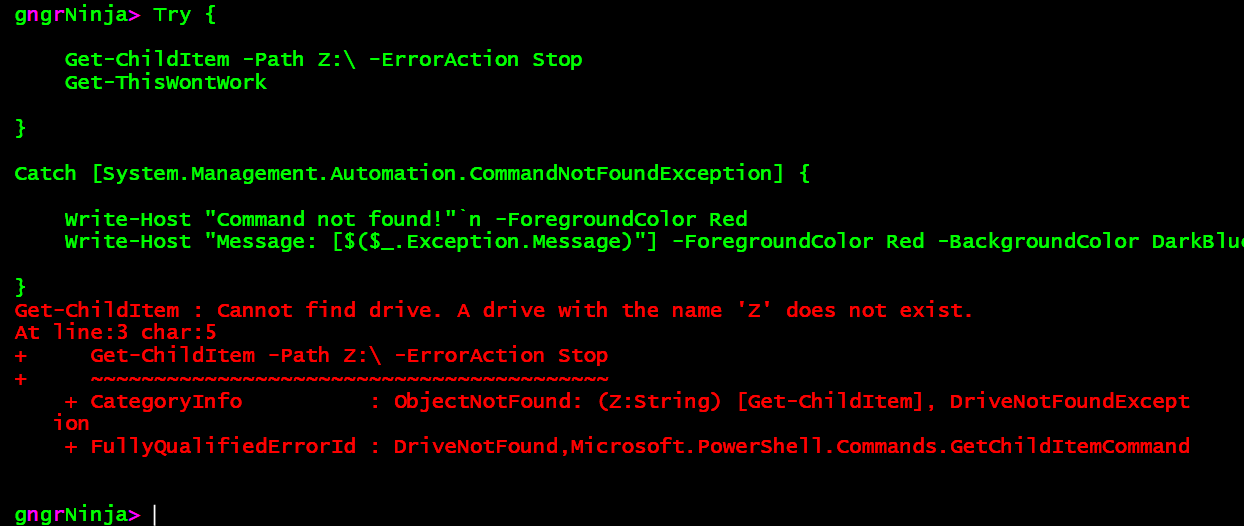
- Error handling
- Creating Custom Objects
- Working with data
- Utilizing the Web: Part 1 (Invoke-WebRequest)
- Utilizing the Web: Part 2 (Invoke-RestMethod)
- Utilizing the Web: Part 3 (More Invoke-RestMethod)
We will be exploring:
Why Control Internet Explorer with PowerShell?
I've covered using Invoke-WebRequest, as well as Invoke-RestMethod for basic and advanced tasks... why would we need anything else? Sometimes you'll try using Invoke-WebRequest, and you swear the data should be there, yet for some reason you just can't seem to parse it out.
The reasons for this can vary. Typically, it is because the page renders something with a script, and you can only gather it with a browser being opened/controlled. If you're having a hard time parsing the data from Invoke-WebRequest, controlling IE can be a time saving solution. This can come in handy if you need to script up something quick, and then work on a long term solution after you know what's possible.
COM Object Instantiation
The first thing we will need to do is instantiate an instance of the Internet Explorer COM object. To do this, we'll use New-Object.
$ieObject = New-Object -ComObject 'InternetExplorer.Application'

$ieObject will store the object and contains the properties and methods we can work with. Let's take a peek:
$ieObject | Get-Member

We will be using a few of these properties and methods as we work with controlling IE.
By default, the instance of Internet Explorer is not visible. For automation, that's great!
For demoing and testing, not so much!
Let's show the current instance of IE:
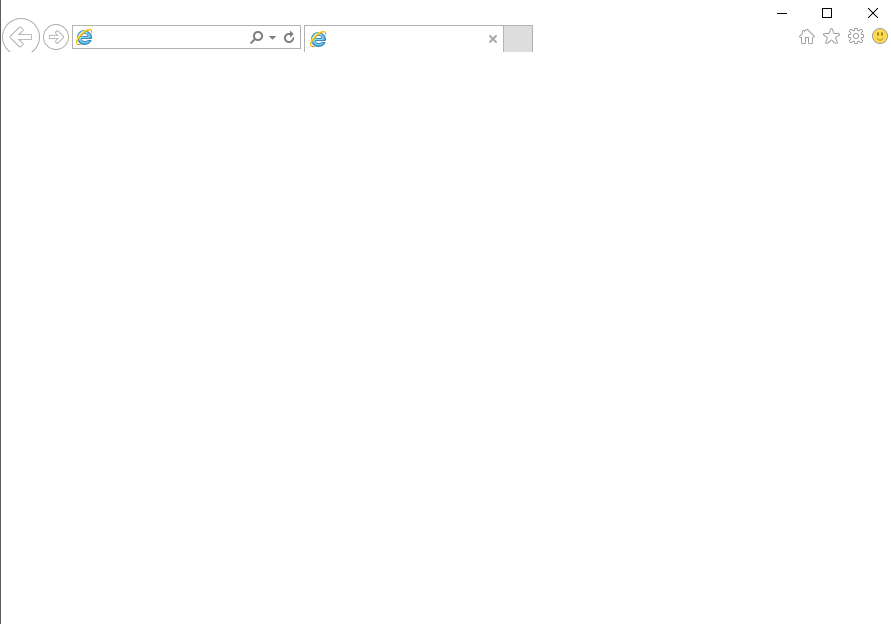
$ieObject.Visible = $true

There's our window.
Navigation
After instantiating our object, we can use it to navigate to a website.
To do this, we will utilize the Navigate method, and pass along a string value to navigate to.
$ieObject.Navigate('http://www.tukui.org/forums/bb-login.php')

Now the browser should be at the website.

Form Elements/Information Gathering
Now that we have navigated to the site, we will need to login. To login, we'll first need do some some information gathering.
First, we will store the current page's document in a new variable named $currentDocument.
Then, we will list out all of the tags named input, along with their associated types and names
$currentDocument = $ieObject.Document
$currentDocument.IHTMLDocument3_getElementsByTagName("input") | Select-Object Type,Name

This gives us enough information to proceed to the next section on filling out the form, however let's take a look at a couple more things.
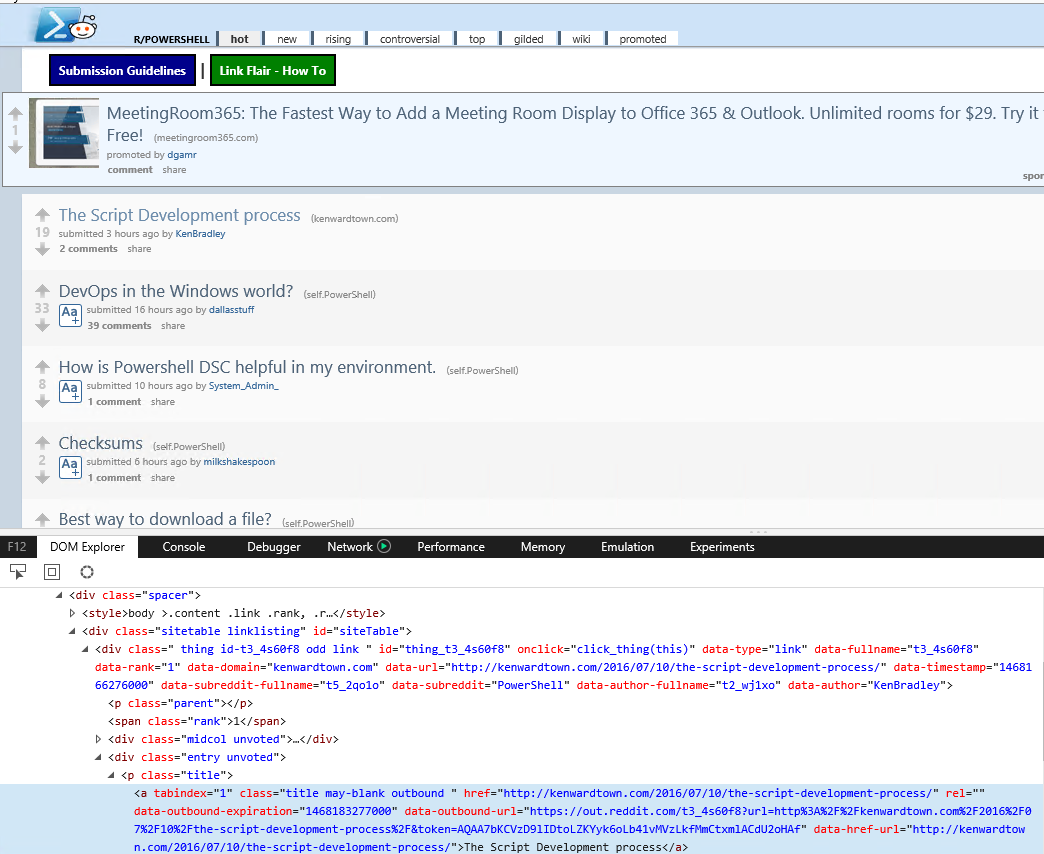
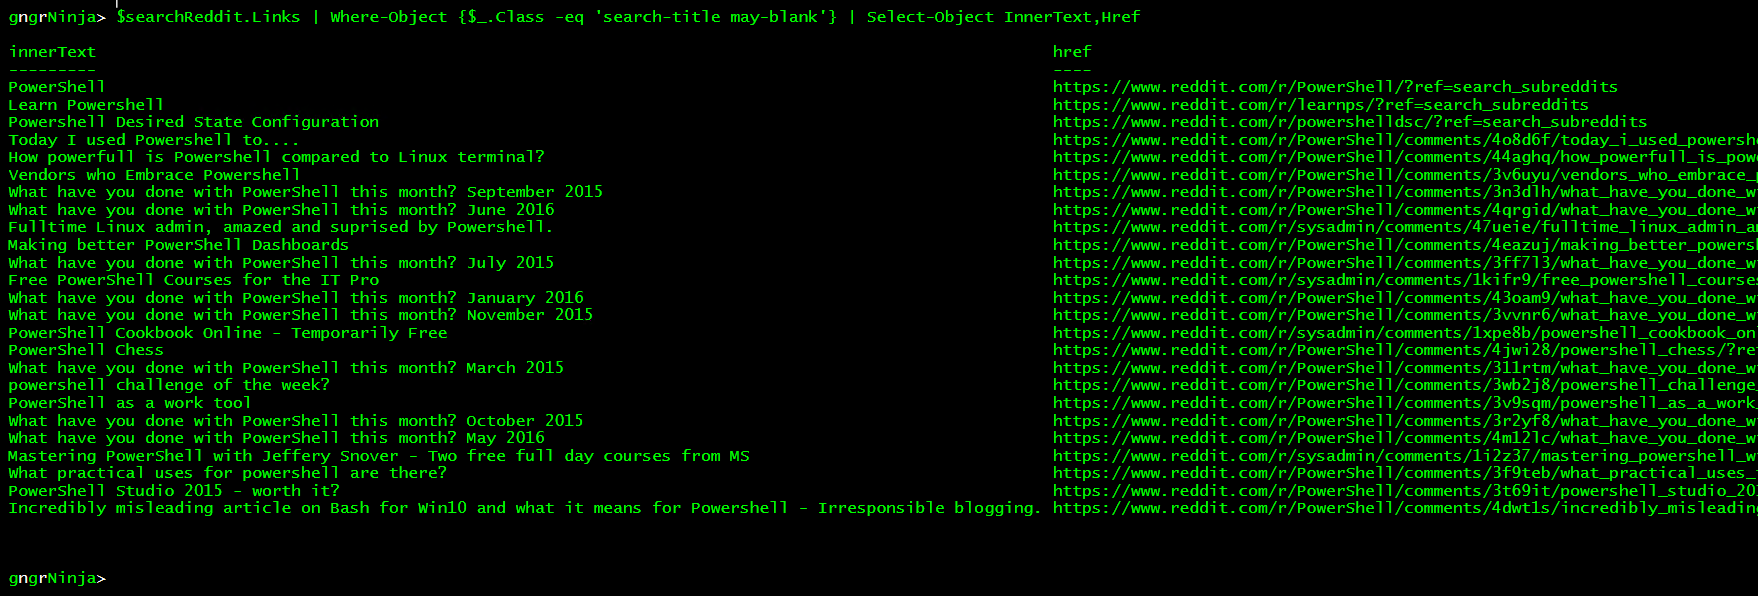
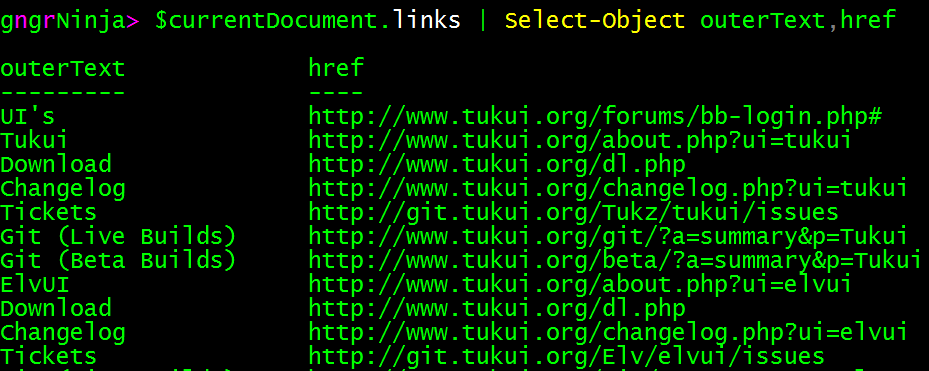
What if we wanted to gather all the links?
$currentDocument.links | Select-Object outerText,href
If we wanted to get just the download URL, we could use something like:
$downloadLink = $currentDocument.links | Where-Object {$_.outerText -eq 'Download'} | Select-Object -ExpandProperty href
$downloadLink

Hmm... it appears that there are two identical links to the download page provided. To make sure we only grab one, we will need to use something like:
$downloadLink = $currentDocument.links | Where-Object {$_.outerText -eq 'Download'} | Select-Object -ExpandProperty href -First 1
$downloadLink

There we go!
Filling Out Forms and Clicking Buttons
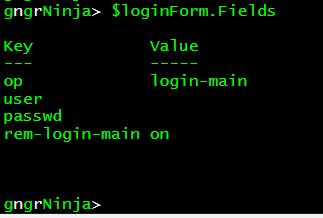
Now that we have parsed out all of the input types, and have their names, we can proceed with filling out the form information.
Here they are for review:

Username
First let's set the username field.
The username field is named user_login, so let's store that field in a variable named $userNameBox.
$userNameBox = $currentDocument.IHTMLDocument3_getElementsByTagName('input') | Where-Object {$_.name -eq 'user_login'}

To set the username, we can change the value property to our username. I have a credential object which contains my username, and I will use that to set it. You can pass along any string value, but I highly recommend using a credential object, or other secure method (more for the password, but it at also omits even showing the raw string for your username in the code).
$userNameBox.value = $myCredentials.UserName

You can see that this is set on the website now!

Password
Now to set the password. To do this we'll use the same logic as we did for the username, but specify the name password.
$passwordBox = $currentDocument.IHTMLDocument3_getElementsByTagName('input') | Where-Object {$_.name -eq 'password'}

The password object will take a string for the password (just as the username object did). I highly recommend using a credential object, and then using the GetNetworkCredential method, and then the Password property.
$passwordBox.value = $myCredentials.GetNetworkCredential().Password

Looks good!

Clicking Submit ("Log in »")
We've filled out our username and password, what now? Well... that button ain't gonna click itself! Let's click it via PowerShell.
There is no name set on the object for the button, so we'll use its type for uniqueness, and set the variable to store it that way ($submitButton).
$submitButton = $currentDocument.IHTMLDocument3_getElementsByTagName('input') | Where-Object {$_.type -eq 'submit'}

Now to click it! There is a method on this object named Click.
$submitButton | Get-Member -MemberType method

Ok but for real now, let's 'click' it!
$submitButton.click()

And if all goes well, you'll see the next page and be logged in.

Now that we're logged in, we could:
- Set the $currentDocument variable to $ieObject.Document as the value is now different since a new page has been loaded.
- Parse out information we need by exploring the webpage.
- Automate looking for a specific post
It really all depends on what you want to do.
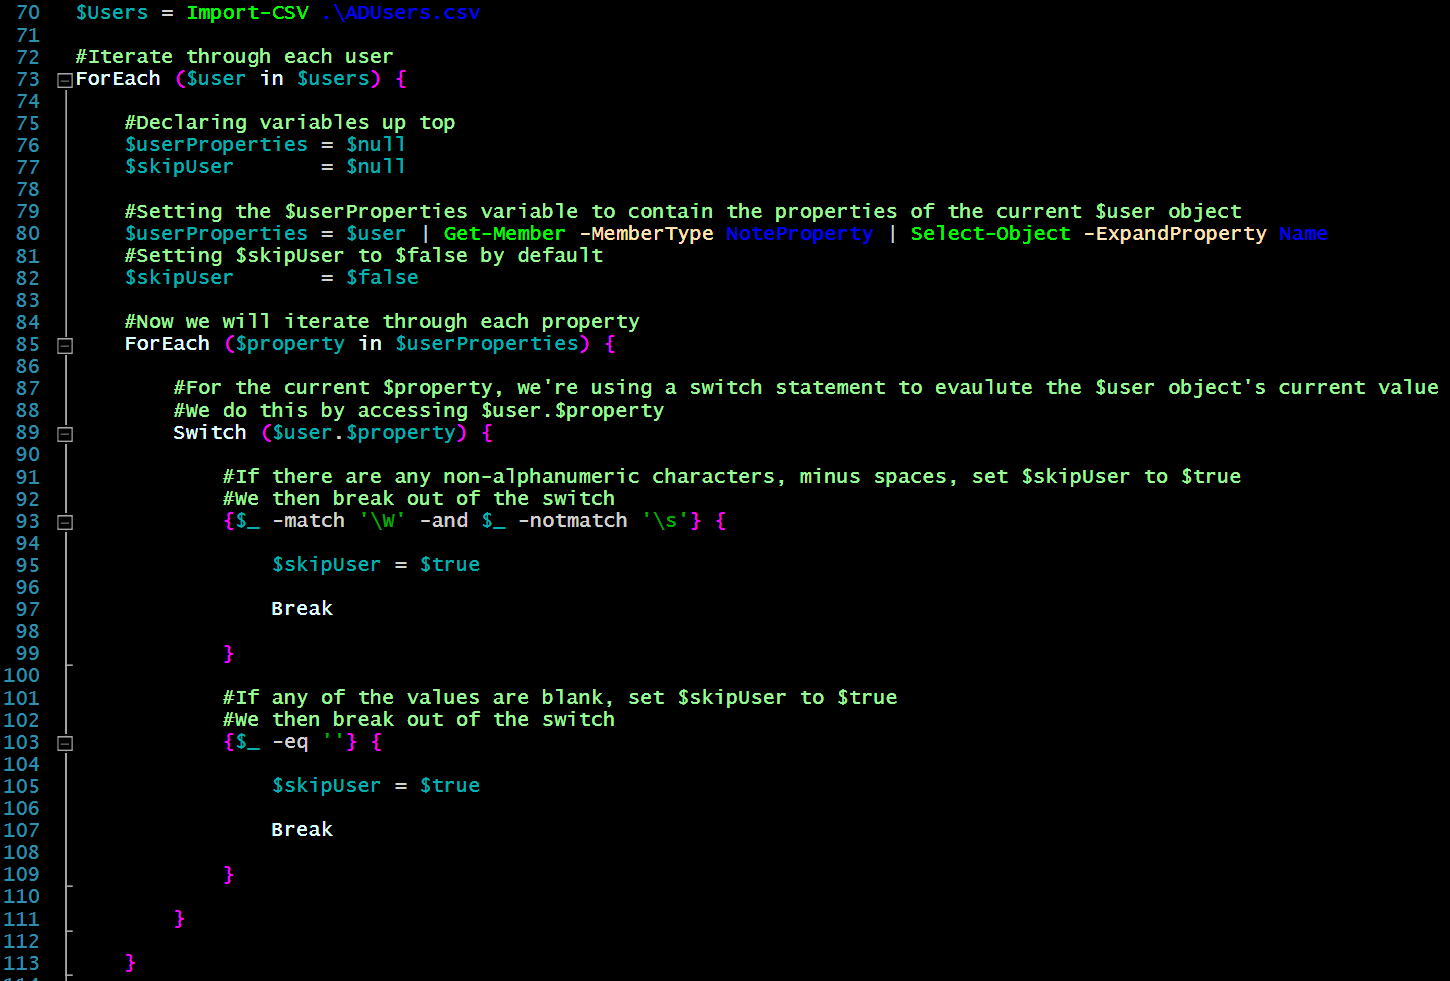
One thing I have done is wrote up a script for a project where I had to rename user IDs. I had a list of old IDs and new IDs, and would iterate through all of them (sometimes 300+), until they were all renamed. All with logging and results output for later review and verification. Once you have the basics down you can really expand into the realm of full automation, and reap the benefits of what PowerShell can do.
!!**Note**!!
After each time you use the Navigate method, or click a button, you'll want to wait for the object's status to not be busy.
Here is one way to accomplish that.
Store this function in memory:
function Invoke-IEWait {
    [cmdletbinding()]
    Param(
        [Parameter(
            Mandatory,
            ValueFromPipeLine
        )]
        $ieObject
    )

    While ($ieObject.Busy) {

        Start-Sleep -Milliseconds 10

    }

}
You can store it in the same script, or as part of a module. You can invoke this function whenever you need to now, and keep your code looking clean.
It's also good to always refresh your $currentDocument variable after a button click / page load.
Here's some code for an example of when/how to use it:
#Set the URL we want to navigate to
$webURL = 'http://www.tukui.org/forums/bb-login.php'

#Create / store object invoked in a variable
$ieObject = New-Object -ComObject 'InternetExplorer.Application'

#By default it will not be visible, and this is likely how you'd want it set in your scripts
#But for demo purposes, lets set it to visible
$ieObject.Visible = $true

#Take a look at the object
$ieObject | Get-Member

#Navigate to the URL we set earlier
$ieObject.Navigate($webURL)

#Wait for the page to load
$ieObject | Invoke-IEWait

#Store current document in variable
$currentDocument = $ieObject.Document
Alright, time to clean things up.
Cleanup
Let's cleanup the mess we made.
First we will log out of the website:
$logoutURL = $currentDocument.links | Where-Object {$_.outerText -eq 'log out'} | Select-Object -ExpandProperty href -First 1
$logoutURL

Now that we've verified the URL (and only have one thanks to Select-Object along with -First 1), we can logout by navigating to it.
$ieObject.Navigate($logoutURL)
Now to verify...

Now to clean up the COM object we instantiated.
First we'll quit IE:
$ieObject.Quit()

Our IE window should have went poof.
If you really want to perform the best cleanup, you can follow that up with this (to release the COM object):
[void][Runtime.Interopservices.Marshal]::ReleaseComObject($ieObject)

Example Code
Here's some example code. I took what we accomplished above, and broke parts of it out into functions.
To use the code you'll need an account on the Tukui forums.
Here's what it does:
- Prompts for credentials
- Navigates to the site
- Enters credentials
- Clicks Submit
- Parses links / text from posts
- Outputs results to text files
- Logs out of site
- Quits IE
- Releases IE COM object
function Invoke-IEWait { #Begin function Invoke-IEWait
    [cmdletbinding()]
    Param(
        [Parameter(
            Mandatory,
            ValueFromPipeLine
        )]
        $ieObject
    )

    While ($ieObject.Busy) {

        Start-Sleep -Milliseconds 10

    }

} #End function Invoke-IEWait

function Invoke-SiteLogon { #Begin function Invoke-SiteLogon
    [cmdletbinding()]
    param()

    #Set the URL we want to navigate to
    $webURL = 'http://www.tukui.org/forums/bb-login.php'

    #Create / store object invoked in a variable
    $ieObject = New-Object -ComObject 'InternetExplorer.Application'

    #By default it will not be visible, and this is likely how you'd want it set in your scripts
    #But for demo purposes, let's set it to visible
    $ieObject.Visible = $true

    #Navigate to the URL we set earlier
    $ieObject.Navigate($webURL)

    #Wait for the page to load
    $ieObject | Invoke-IEWait

    #Store current document in a variable
    $currentDocument = $ieObject.Document

    #Username field
    $userNameBox = $currentDocument.IHTMLDocument3_getElementsByTagName('input') | Where-Object {$_.name -eq 'user_login'}

    #Fill out username value
    $userNameBox.value = $myCredentials.UserName

    #Password field
    $passwordBox = $currentDocument.IHTMLDocument3_getElementsByTagName('input') | Where-Object {$_.name -eq 'password'}

    #Fill out password value
    $passwordBox.value = $myCredentials.GetNetworkCredential().Password

    #Submit button
    $submitButton = $currentDocument.IHTMLDocument3_getElementsByTagName('input') | Where-Object {$_.type -eq 'submit'}

    #Invoke click method on submit button
    $submitButton.click()

    #Wait for the page to load
    $ieObject | Invoke-IEWait

    #Return the object so we can work with it further in the script
    Return $ieObject

} #End function Invoke-SiteLogon

function Invoke-IECleanUp { #Begin function Invoke-IECleanUp
    [cmdletbinding()]
    param(
        [Parameter(
            Mandatory,
            ValueFromPipeLine
        )]
        $ieObject
    )

    #Store logout URL
    $logoutURL = $currentDocument.links | Where-Object {$_.outerText -eq 'log out'} | Select-Object -ExpandProperty href -First 1

    #Use logout URL to logout via the Navigate method
    $ieObject.Navigate($logoutURL)

    #Wait for logout
    $ieObject | Invoke-IEWait

    #Clean up IE Object
    $ieObject.Quit()

    #Release COM Object
    [void][Runtime.Interopservices.Marshal]::ReleaseComObject($ieObject)

} #End function Invoke-IECleanUp

#Get credentials
$myCredentials = Get-Credential

#Login to site
$ieObject = Invoke-SiteLogon

#Wait in case it is still busy
$ieObject | Invoke-IEWait

#Set the current document variable
$currentDocument = $ieObject.Document

#Get all elements that may have text values in a table, and store in a text file
$currentDocument.IHTMLDocument3_getElementsByTagName('td') | Select-Object OuterText | Out-File '.\siteStuff.txt'

#Get all links and select name/href, and store in a text file
$currentDocument.links | Select-Object outerText,href | Out-File '.\links.txt'

#Log out / clean up IE Object now that we're done
$ieObject | Invoke-IECleanUp
It will create the text files in the current working directory.


Homework
- Add some error handling
- Re-write the example script to log in to a webpage you frequent
- Find a way to auto-magically import / export credentials
I've provided some links for hints.
I hope you've enjoyed this series.
As always, leave a comment if you have any feedback or questions!